
This post contains affiliate links, which means I make a small commission at no extra cost to you.
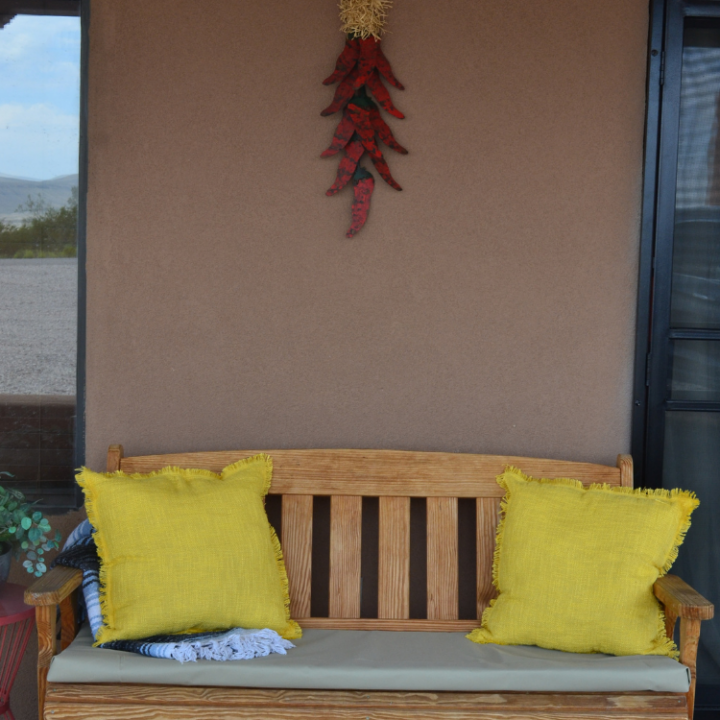
These DIY custom outdoor patio cushions are the perfect cheap home project for a beginner. It requires no sewing and cost half the price than store-bought patio cushions. It is an easy way to create a space outside that won’t break the bank. Let’s get started!
What You’ll Need

These cushions require minimal effort so few materials are needed.
- High-density foam, at least 2 inches
- Fabric scissors, a box cutter, or foam cutter tool
- Fabric
- Velcro, preferably heavy duty (10 lbs weight)
- Tape measure and ruler or straight edge
- Marker
Measure Your Space
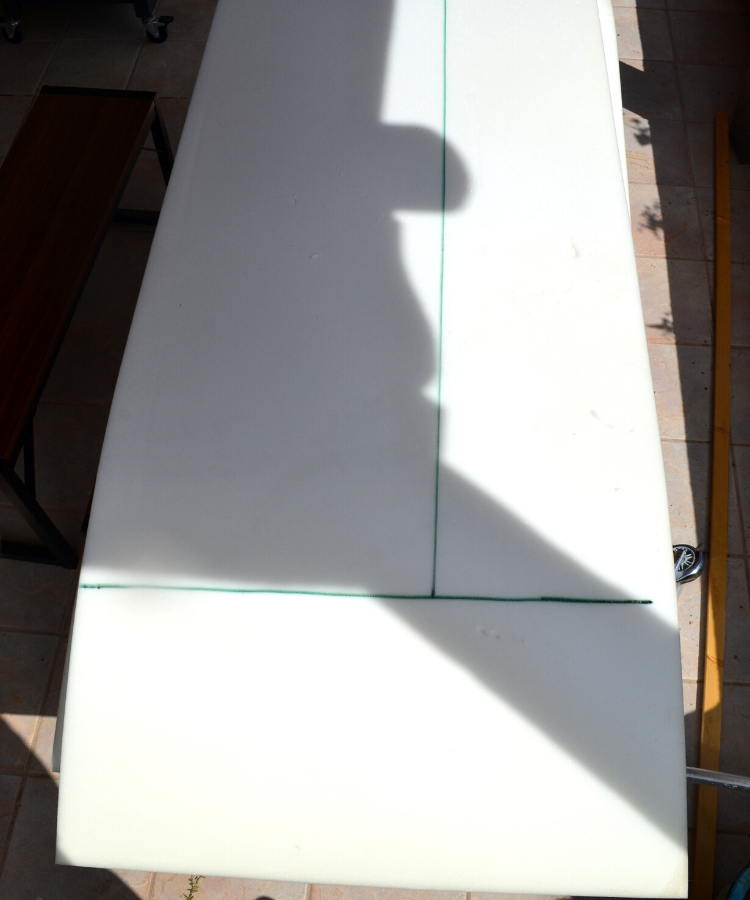
To start, measure the area’s length and width so you know the dimensions of your foam. My benches measured at 57 3/4 inches long and 18 inches wide. I used my tape measure and marked the points on my foam and used a straight edge to draw it across to make sure I cut in a straight line.
The Cut
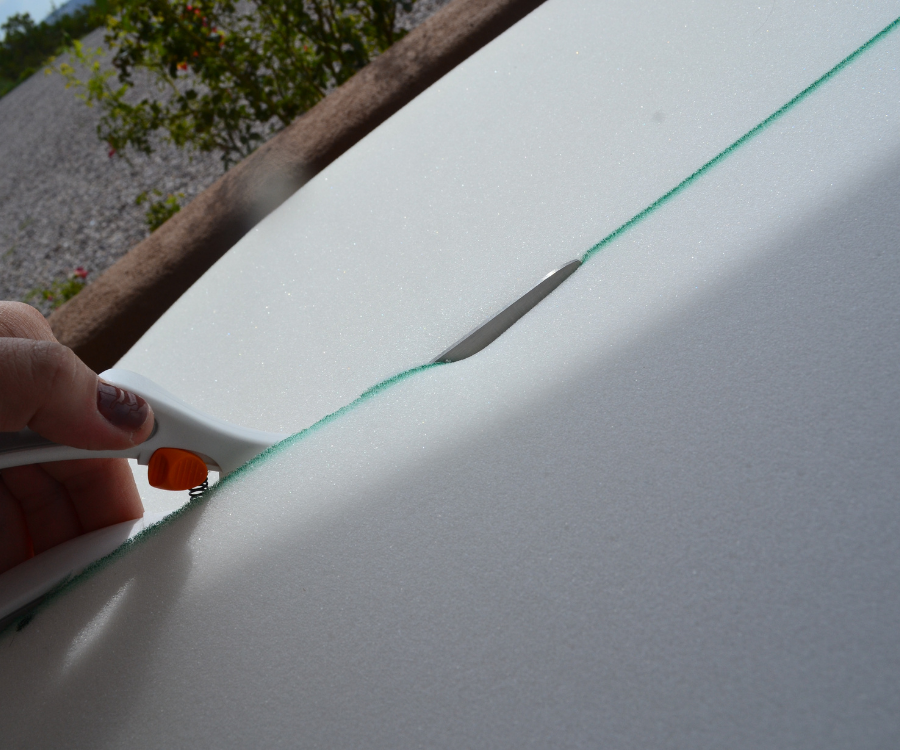
Using scissors or a foam cutter, cut the foam down to size. If you’re using anything but a foam cutter, your edges are not going to be clean and that’s okay. You also might have to cut in layers. I started at the top layer of the foam and spread it apart to cut through the rest. Just be patient with this part because it is the most tedious.
The Fabric
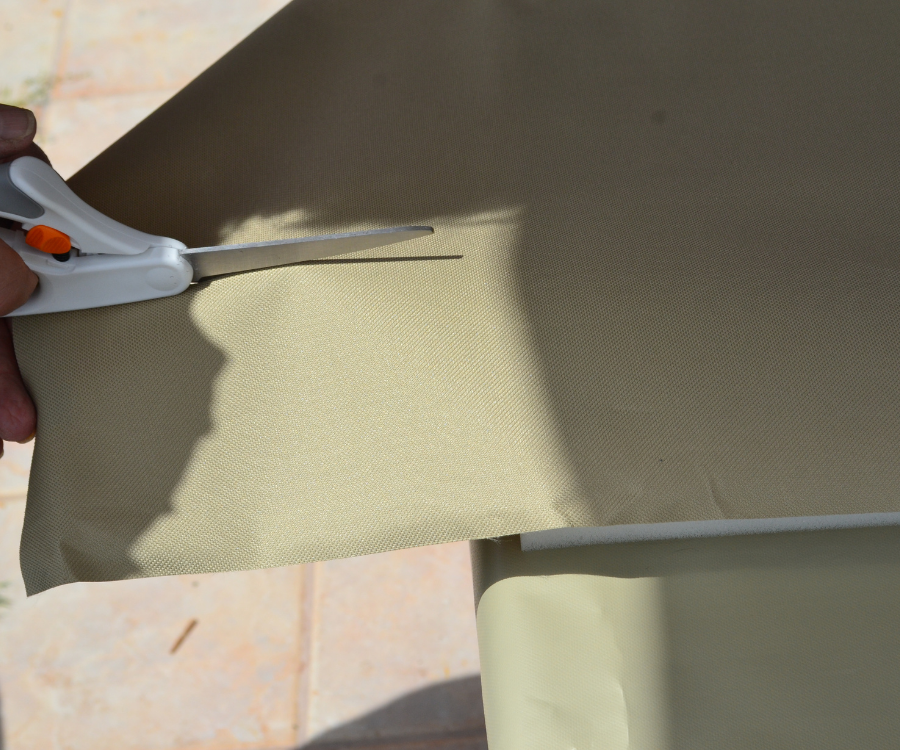
With the same measurements, refer to those numbers when picking out fabric but add at least 6 inches more on all sides. This will give you some extra space for folding the fabric and making sure you have enough room to hide the folds on the bottom of your seating area. My measurement was 4 yards total. I used 2 yards on both benches.
Assemble
Step 1
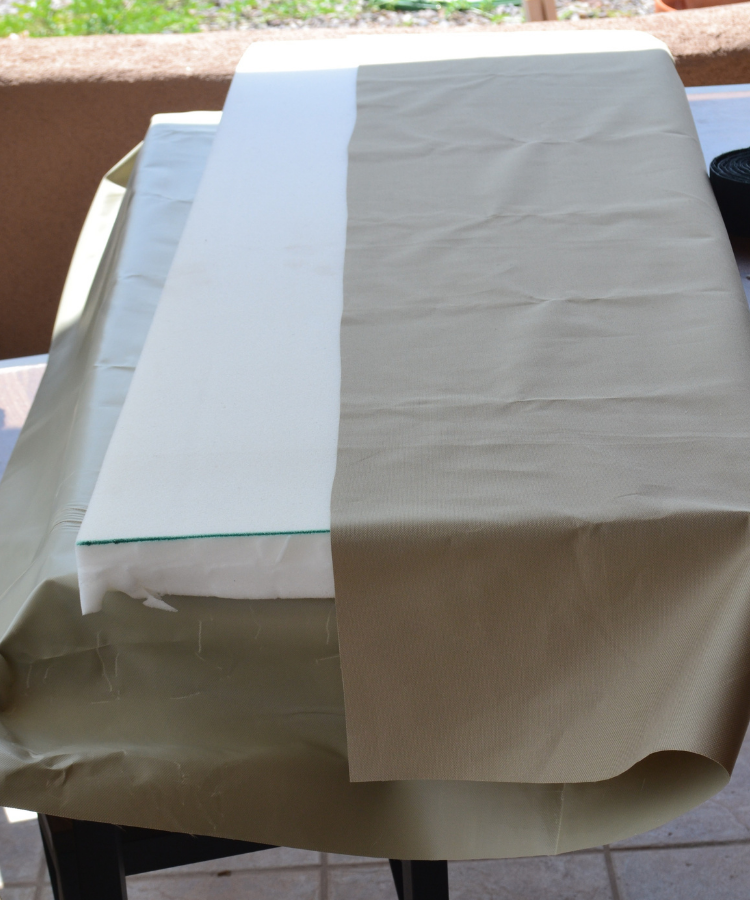
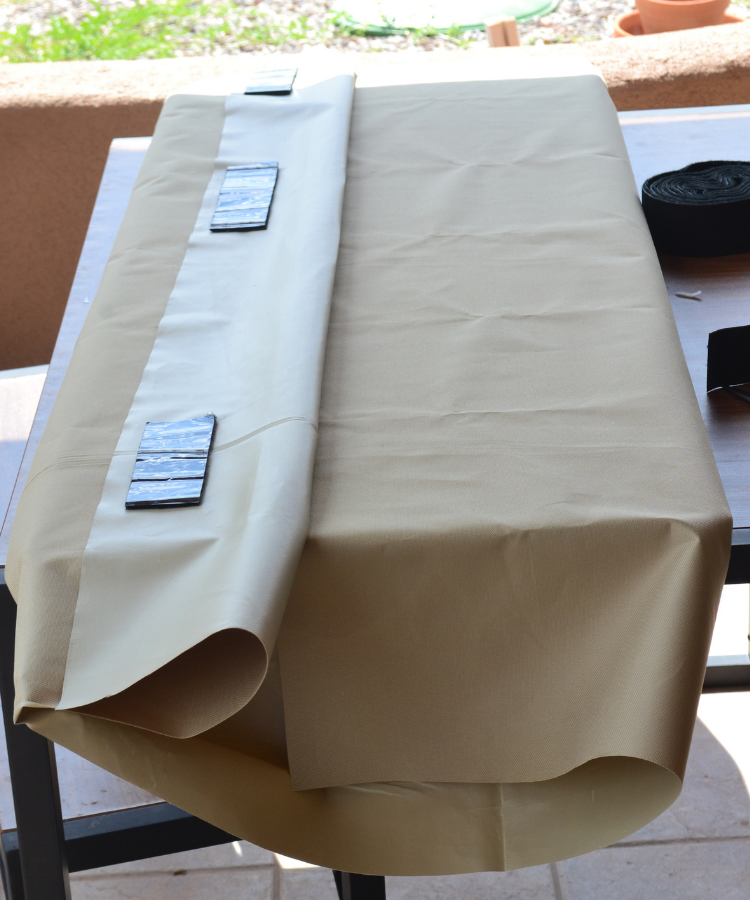
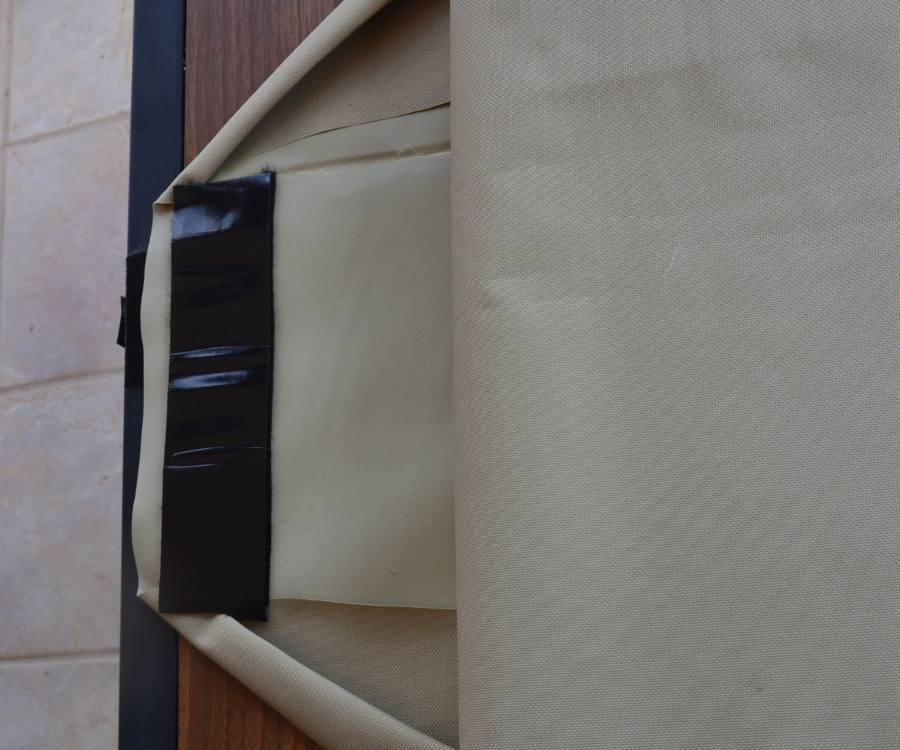
Start by cutting your foam and laying it on top of your fabric much like you would a present on top of wrapping paper. Fold your horizontal edge over the fabric and place Velcro on the edges to secure (below).
Step 2
Take your vertical edges and tuck in the top portion. Use Velcro to secure.
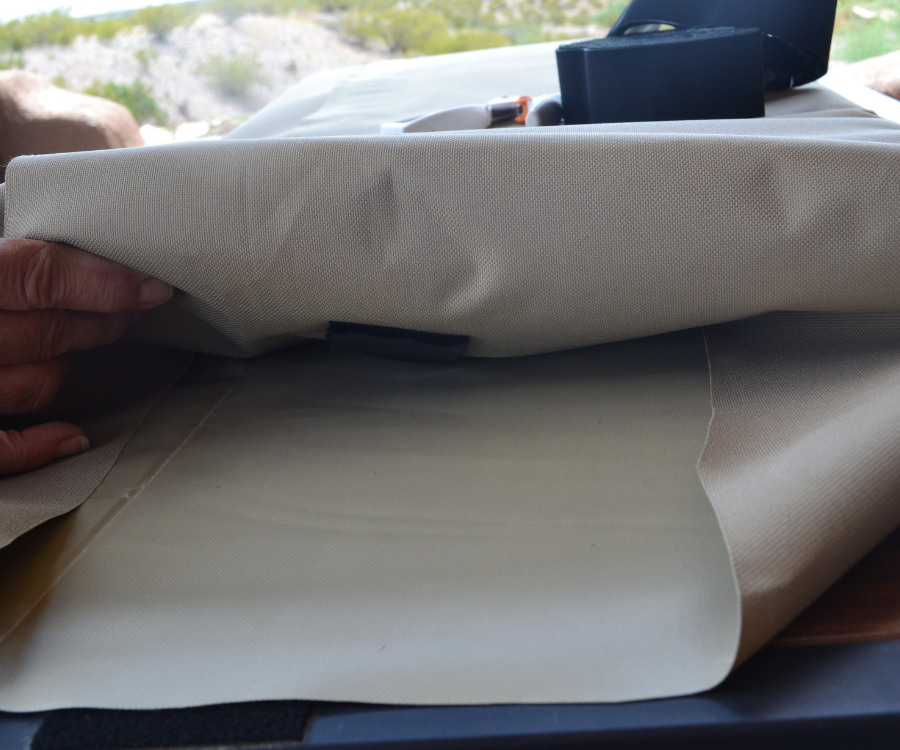
With the remaining fabric, place your velcro on the edge and fold it up like an envelope.
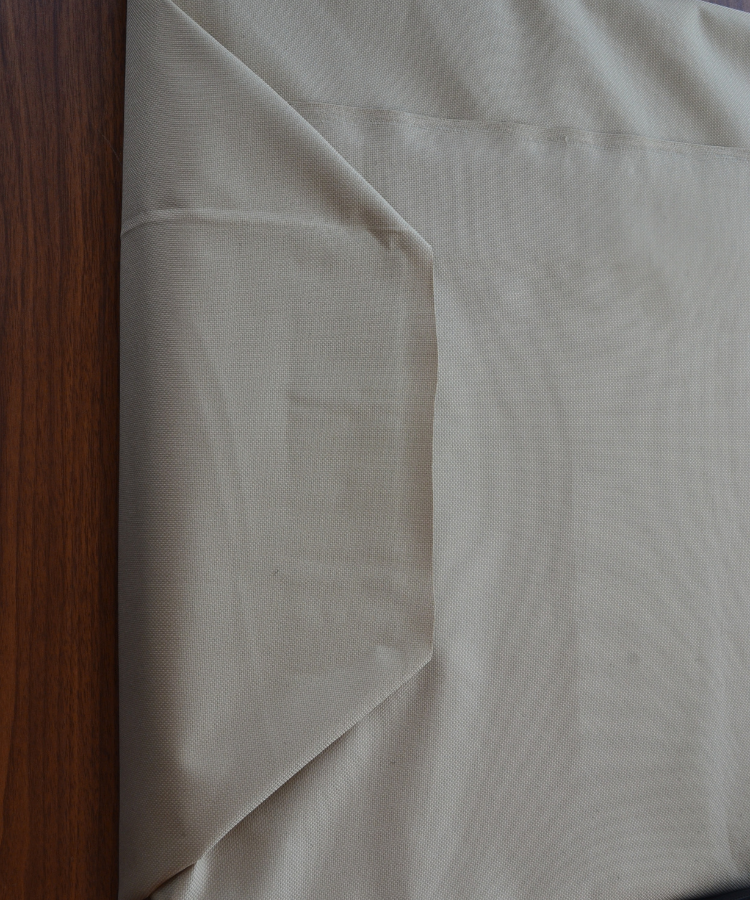
Step 3
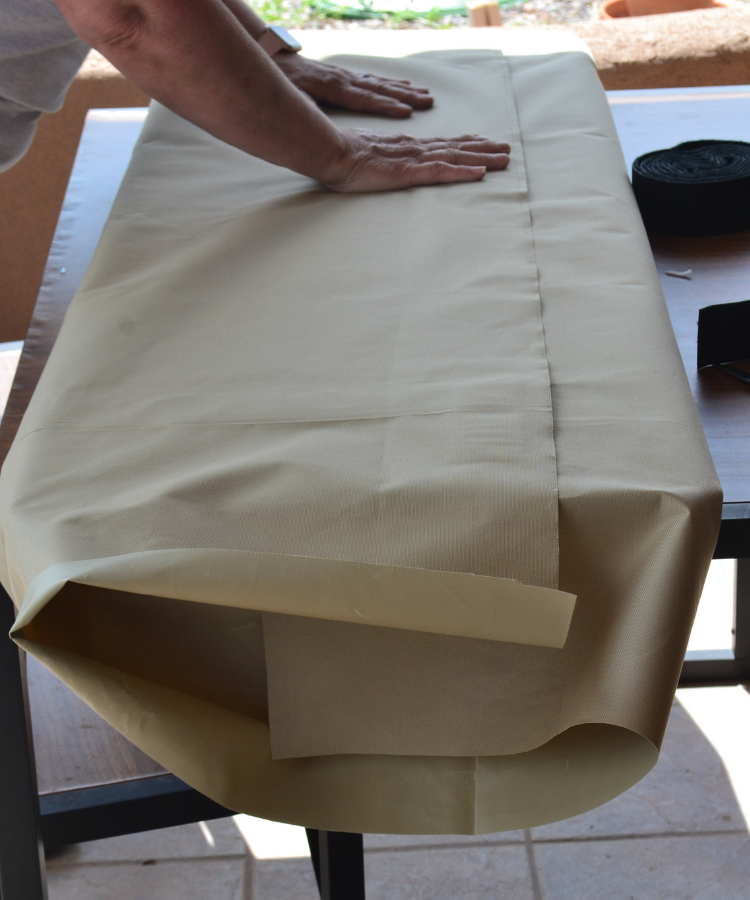
Apply pressure all over the velcro areas to ensure a proper adherence to both the top and bottom pieces of fabric. This would also be the time to smooth any wrinkles, reapply velcro, or fix any folds so it appears seamless on the top side.
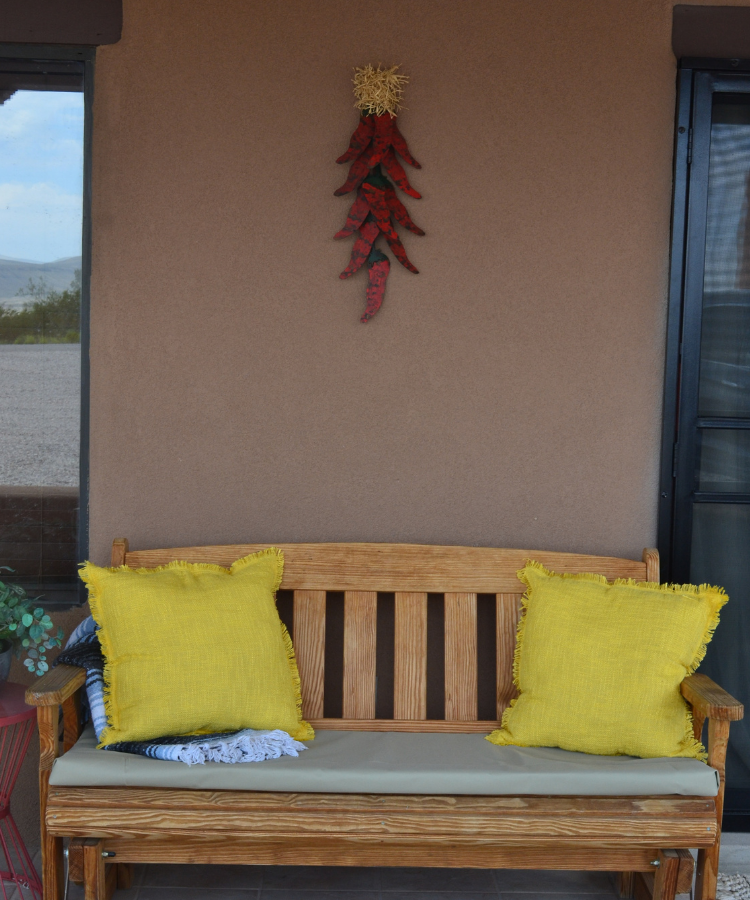
The Reveal
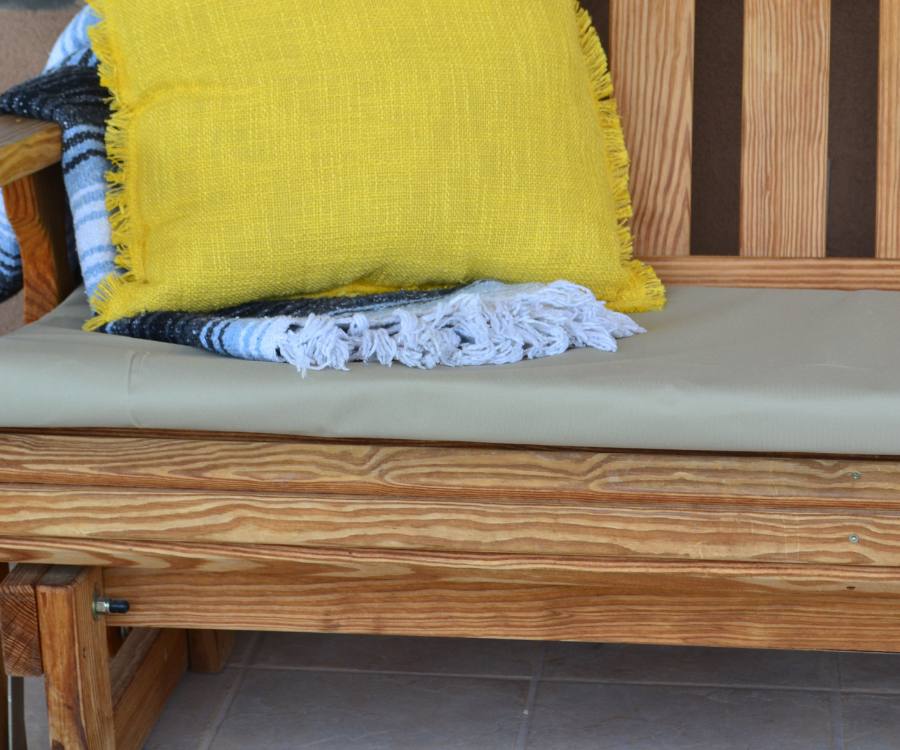
Place your DIY cushion on your bench or furniture of choice and be totally pleased with how effortlessly you created patio cushions!
What These DIY Cushions Are Not
Commercial-looking
These cushions are easy, budget-friendly and take little time to put together, which means that details and stitching are not included. These will be basic and simple but will make the same impact as a store-bought cushion.
Reversible
Since the cushions are wrapped with Velcro, there is no way to flip the cushions over to use the other side. Try to find a fabric that is durable so cleaning can be simple with either a damp cloth or a garden hose, much like regular patio furniture.
Expensive
Since these are easily put together and simple, they will be totally cost-effective! The materials are inexpensive and most items can be purchased at your local craft store.
Perminent
Since you are customizing the size and fabric, you are able to switch these cushions up as much as you like. Swap different fabrics, cut the foam down to fit another piece of furniture, use the scraps for another project – the options are endless!
Have you tried this DIY project for yourself? Let me know how it turns out!
You Might Also Like
Fall Favorites: Fashion, Home and Beauty Guide 2020
DIY EASY CUSTOM OUTDOOR PATIO CUSHIONS FOR CHEAP
These DIY custom outdoor patio cushions are the perfect cheap home project for a beginner. It requires no sewing and uses a present-wrap style to create your very own patio furniture.
Materials
- High-density foam, at least 2 inches
- Fabric scissors, a box cutter, or something sharp to cut through foam and fabric
- Fabric, 4 yards
- Velcro, preferably heavy duty (10 lbs weight)
- Tape measure and ruler or straight edge
- Marker
Tools
- Foam cutter (optional)
Instructions
- Measure your space that you are going to be placing the foam and mark your foam with those measurements using your tape measure and ruler.
- Once you've marked your foam, use your foam cutter or a pair of fabric scissors to cut through the foam to desired dimensions.
- Place 2 yards of fabric on a flat surface and place foam on top of it.
- Face your foam piece so that you are facing the horizontal edges of the foam and fabric. Take the horizontal edges and fold them over one another, much like you would a present with wrapping paper.
- Place desired amount of Velcro (I did 3 3-inch strips) across the overlapping horizontal edge and adhere it to the underlapping fabric. Repeat until all horizontal fabric is secured.
- Next, take your vertical pieces and tuck the top portion under the foam. Use a smaller piece of Velcro to secure the fabric. There should be a single layer on the bottom to fold up and meet the horizontal folds.
- Take your single vertical layer and fold it up to meet the horizontal fold, much like an envelope folds to close. Use Velcro to secure.
- Repeat on the other side.
- Inspect your corners and edges to make sure everything is secure and folded as seamlessly as possible
- Turn cushion over and inspect the portion of the cushion that will be visible and fix any folds, etc.
- Place new cushion on your furniture.