
This post contains affiliate links, which means I make a small commission at no extra cost to you.
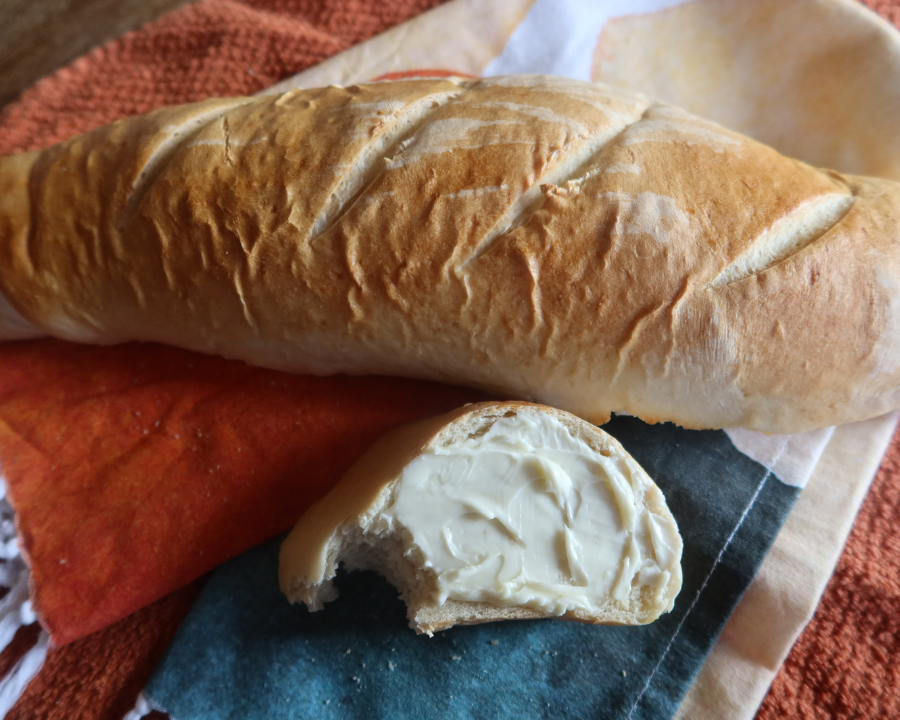
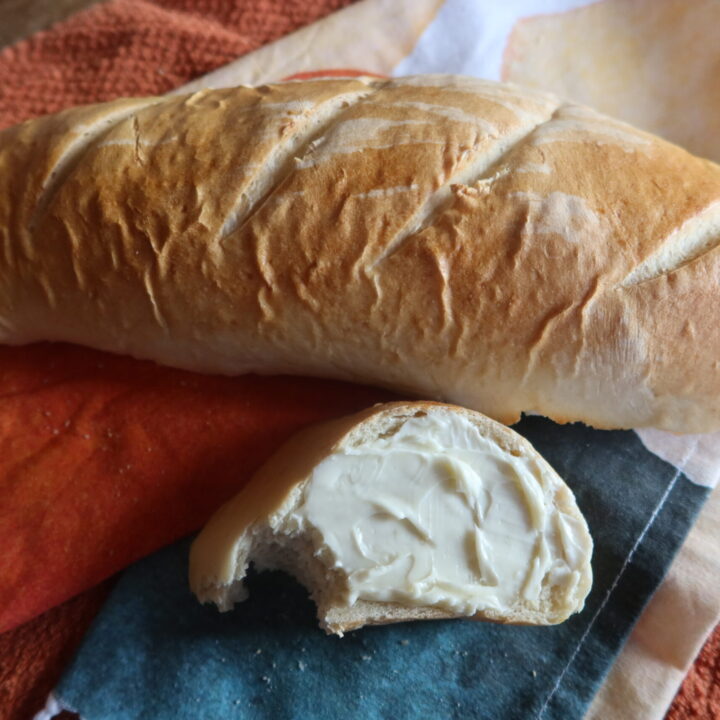
This easy and delicious homemade French bread recipe is by far the quickest bread I’ve made in my kitchen. This French bread has only two rises and is soft and flavorful with a nice golden crust.
As a mom, I love the idea of baking from scratch but having the time for it is challenging. Especially with bread, a long window of time is expected to make anything homemade. This is a great recipe to hang on to when you’re wanting to serve some crusty bread in a pinch.
How to Get a Golden Crust
The coolest bread-baking hack I’ve seen this side of the Mississippi is tossing 3 – 4 ice cubes into the bottom of the oven and closing the door. The steam develops a crisp crust and that is what you want with French bread. Also brushing the top of the loaves with an egg wash (egg with a splash of water mixed together) will develop a beautiful color.
How to Get Artisan-Looking Slashes in Your Bread
A bakers lame is recommended to get clean scores down the loaf of your bread. It is basically a sharp blade that cuts through dough seamlessly. A regular kitchen knife will pull at the loaf and tear the dough. A sharp kitchen knife will do the job but you might consider a bakers lame if you make bread often.
Have you tried it? Let me know!
You Might Also Like
New Mexico Red Chile Chicken Alfredo
New Mexico Green Chile Stew with Pork and Sweet Potato
Delicious Freezer Crock Pot Meals with Under 5 Ingredients
Recipe Source: Mel’s Kitchen Cafe
Easy & Delicious Homemade French Bread
Ingredients
- 2 ¼ cups warm water
- 2 tablespoons sugar
- 1 tablespoon instant or active dry yeast
- ¾ tablespoon salt
- 2 tablespoons oil (canola, vegetable, olive or avocado)
- 5 ½ – 6 cups all-purpose flour
Instructions
- In the bowl of a stand mixer fitted with the dough hook, combine the water, sugar and yeast. Let the mixture sit for 3 - 5 minutes.
- Add the salt, oil and 3 cups of flour and mix on low speed until incorporated. Add in 2 1/2 to 3 cups until the dough clears the sides of the bowl and feels tacky to the touch (sticky but not sticking to your fingers).
- Knead the dough for 2 - 3 minutes until the dough is smooth. After that time, add 1/4 cup of flour at a time if the dough is too sticky and sticks to the sides of the bowl. Do this until a soft ball of dough forms that doesn't stick to the bowl of the mixer.
- Transfer the dough to a lightly greased bowl and cover with a towel or plastic wrap. Let rise for 1 hour in a warm area of your kitchen (in your oven, in your microwave, etc.)
- Once dough has risen, turn out onto a lightly greased or floured surface and divide the dough into two. Form each half into a wide rectangle that is roughly 13 inches long (at least around 5 inches wide).
- Starting at the horizontal end of your rectangle, roll the dough to meet the other horizontal end, much like making cinnamon rolls. Make sure your roll is fairly tight and pinch the seam to seal the roll. Place seam side down.
- Arrange your rolls on a baking sheet lined with parchment and use a bakers lame or sharp knife to slash 3 or 4 slits into each loaf.
- Cover with plastic wrap or a towel and let the dough rest in a warm area of your kitchen for another hour.
- Preheat your oven to 375 degrees Fahrenheit during the last 10 minutes of rise time.
- Place the tray of loaves into the middle rack of the oven and bake for 25 - 30 minutes or until golden and baked through.
- Optional: You can toss 3 - 4 ice cubes in the bottom of the oven right before you close the door to develop a crisp crust.
- Allow to cool for about 10 minutes before serving to avoid a doughy texture to your bread. Resist all temptation to dive into it out of the oven!
- Serve warm with butter and feel all warm and fuzzy and full of delicious bread.